One of the most inexpensive and effective ways to boost your computer's performance is to add more or upgrade your
RAM. For a brush up of what RAM does for your computer and how much you need, read my earlier post
here.
- Establish if you need an upgrade. To do this reboot your computer without opening any applications. Open the Task Manager (Ctrl+alt+delete for Windows XP and Windows 7. Start > Task Manager in Vista) and click the performance tab. If your available memory is hovering around 50% or less, then this means you're using half or more of your memory just to boot up Windows. Once you start opening applications, you're most likely maxing it out or getting pretty close to it so you could use an upgrade.
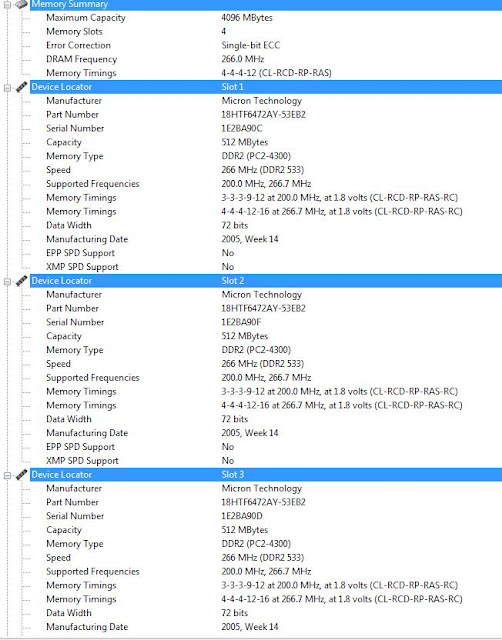
- Use the application SIW to figure out what kind of memory you have, how many slots your motherboard has, and how much memory your motherboard can support. See my post about SIW here if you're not sure what it is or where to get it. In the example below, you'll see I have 2 gigs of DDR2 RAM, 4 slots available, and my motherboard supports 4 gigs total. I'm going to purchase 4, 1 gig modules of DDR2 ram to replace my existing 512 modules.
- Go find the best deal you can! For shopping tips, check out my post here.
- Gather your new memory, the tools I described in my last post and your unplugged computer and lay them out on a hard table top. Carefully open it up, you may need to unscrew small screws from the back to do so. (Make sure to carefully save them!)
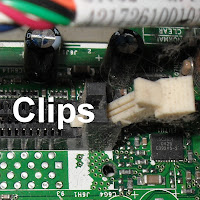
- Locate your existing RAM, and remove each one by gently pushing down on the clips on either side of each module, and carefully pulling it out of it's slot. Make sure to only hold the RAM by it's edges, and avoid touching the circuits on the side or pins on the bottom. When I remove RAM, I like to take it out and lay it in such a way, so that I know which direction it was installed. This makes it easy when lining up the notch in the pins on the bottom of the new RAM modules. You know exactly which way it's supposed to go. Oh these clips are dusty, time to break out the canned air!
- Again, holding it only by it's edges, carefully line up your new RAM module and gently push down until the clips pop into place. This does require some firm pressure, but not too much. If it's a strain, check to make sure you've lined it up correctly. Again, that notch in the bottom needs to be lined up the right way or your RAM just won't go in.
- Take a final look to make sure all of your new RAM modules have been installed correctly. They should all be flush, nothing should be sticking out.
- Close your computer up, plug it in and boot it. Run SIW again to make sure all of your new RAM is recognized. If it isn't or if you received an error on boot, unplug it, open it up and re-seat the RAM.
- Now sit back, relax and enjoy the performance boost!


No comments:
Post a Comment